Installation
Webmaker+ installation guidelines for Drupal 10.
At the end of the installation process documented below you will be able to login to your Drupal site as administrator.
To login, once you install, go to /user/login url and use the following credentials:
- u:
admin - p:
password
Installation on a LAMP stack or a typical hosting environment.
To complete and installation please follow the steps below:
- Place the included
full_installation/folder under your Apache server path1. - Create an empty MySQL database and take note of the database name.
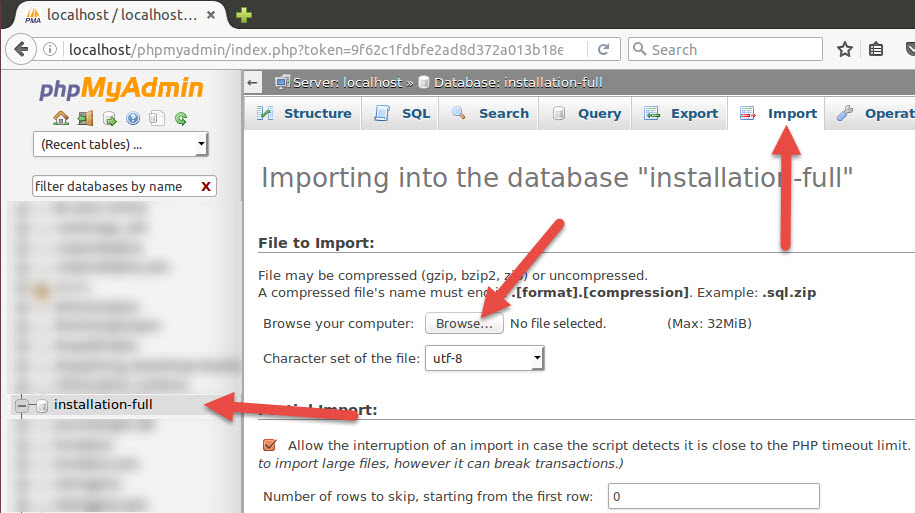
- In your newly created database, import the
database/db_instance.sqlfile. The following screen shows the steps to do this through phpMyAdmin. If your hosting environment does not come with a similar tool installed please ask your hosting provider for assistance on how to import the database file.
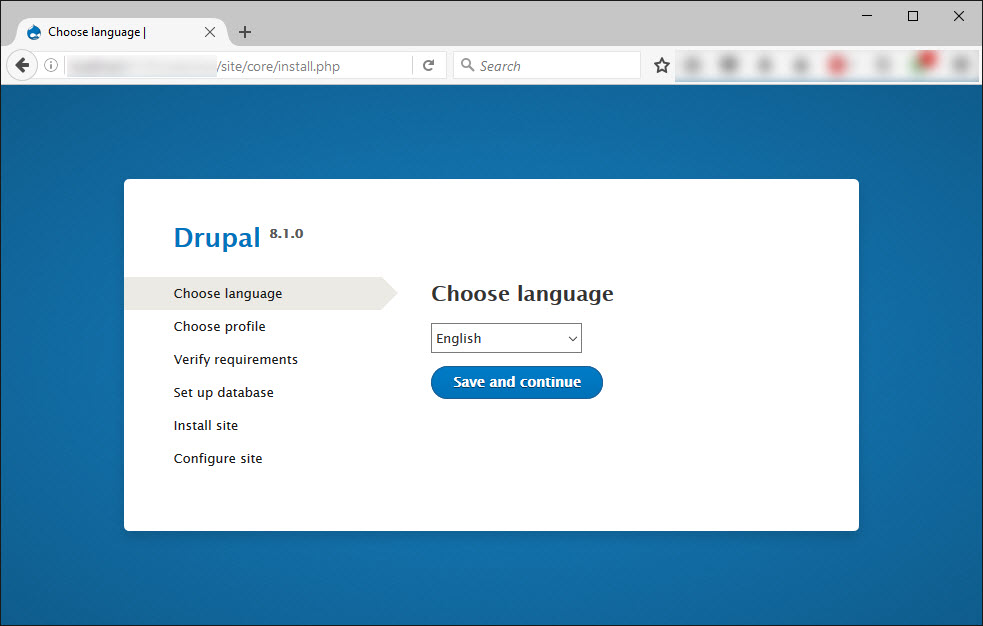
- Start the Drupal installation wizard by pointing your browser to the recently created folder, in your Apache server path.
- Continue the installation by selecting the "Standard" installation profile.
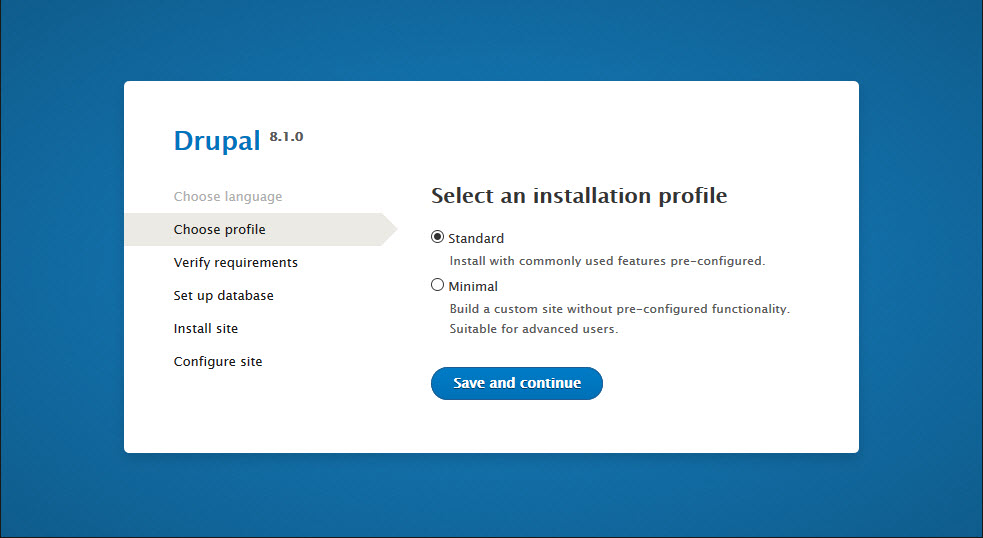
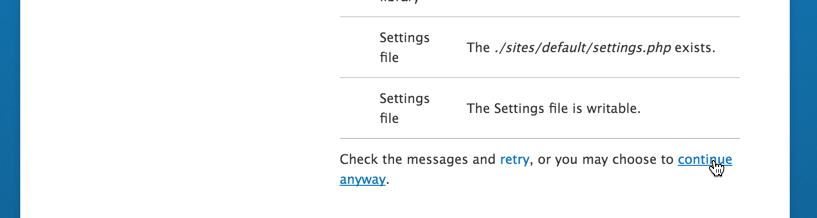
If confronted with any warnings, click to continue with installation.
- Enter your recently created database information. This includes the database name and credentials (username/password) you have chosen when creating it, spelled exactly as in step 3 above.
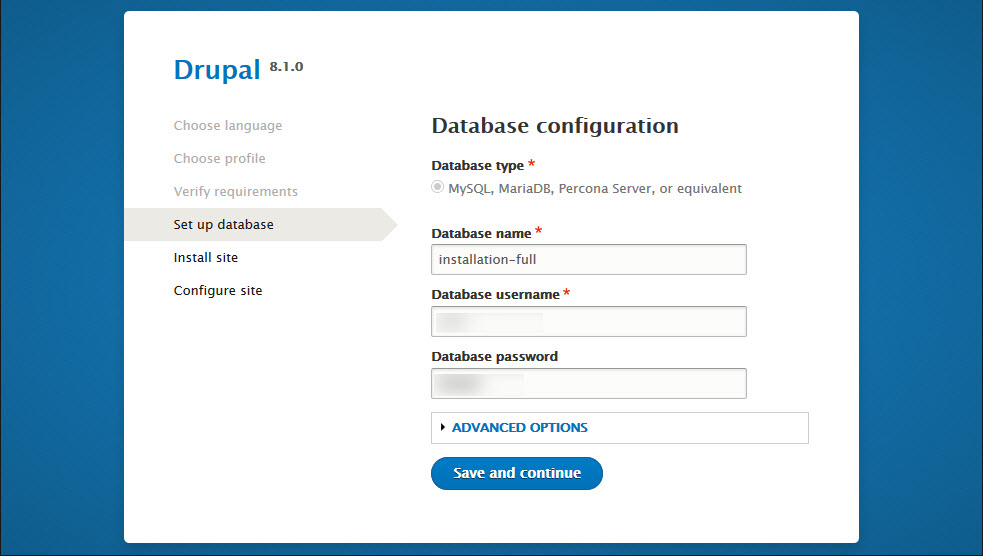
- The installation wizard will recognize that you are using an already populated database and will inform you accordingly. At the same time, the wizard should create all the necessary files your Drupal site needs in order to work properly on your server.
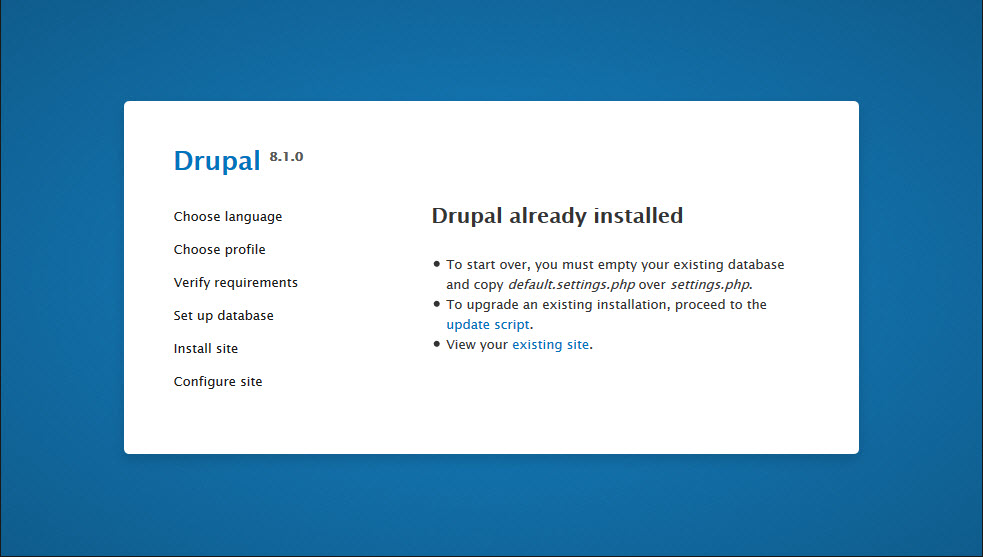
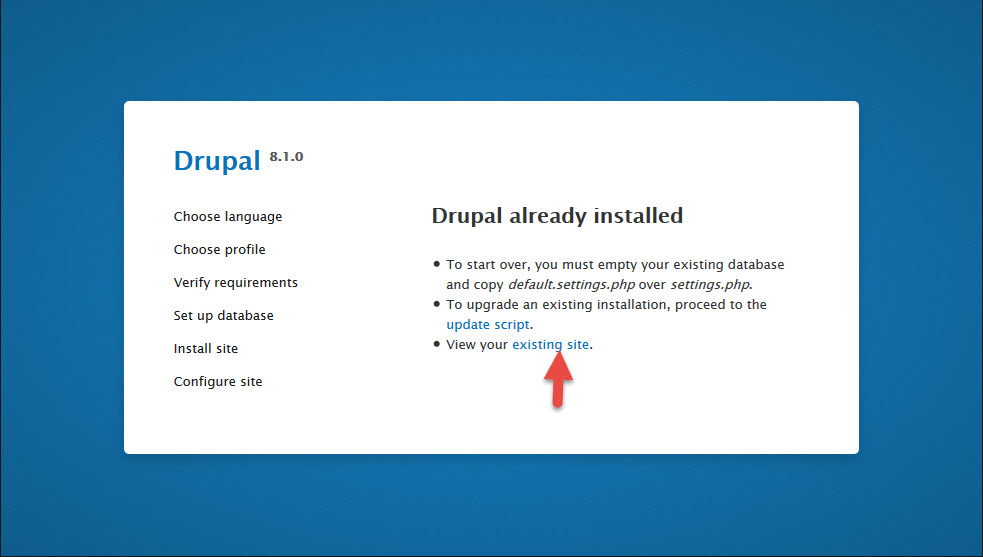
- You are done. Click on the "visit existing site" link, to visit your new site.
Installation with DDEV
DDEV is an open source tool that makes it dead simple to get local PHP development environments up and running within minutes. It's powerful and flexible as a result of its per-project environment configurations, which can be extended, version controlled, and shared. In short, DDEV aims to allow development teams to use Docker in their workflow without the complexities of bespoke configuration.
We strongly recommend using DDEV in your local environment for development.
Before you start, please ensure that DDEV is properly installed in your system.
Installation steps:
- Navigate into the
full_installation/folder - Initialize DDEV:
ddev config - Select a project name and the platform as follow:
Project name (full_installation): Webmaker
Docroot Location (current directory):
Project Type [backdrop, craftcms, django4, drupal10, drupal6, drupal7, drupal8, drupal9, laravel, magento, magento2, php, python, shopware6, silverstripe, typo3, wordpress] (drupal10):
- Start the environment:
ddev start - Import the database:
ddev import-db - In the following prompt, provide a relative path to the
db_instance.sqlfile. e.g.../database/db_instance.sql - Open a browser:
ddev launch
Install Drush and Login without credentials
- Require
drush:ddev composer require drush/drush - Get an one time login URL:
ddev drush uli
- How to find your Apache server path: if you are deploying online, your hosting provider should be able to provide you this. If you are deploying locally, it will be where your XAMPP or MAMP installation is configured to look into (e.g.: htdocs, in the case of MAMP on Mac OS X).↩